转载:https://www.iocoder.cn/ActiveMQ/install/
# 1. 概述
ActiveMQ (opens new window) 是 Apache 软件基金会所 (opens new window)研发的开源的消息中间件。
- ActiveMQ 是基于 Java 语言来进行实现的,因此只需要有 Java 环境,ActiveMQ 就可以方便的运行起来。
- ActiveMQ 完全支持 JMS1.1 (opens new window) 规范。
不过 ActiveMQ 相比目前主流的 RabbitMQ、Kafka、RocketMQ 等消息队列来说,性能是相对比较差的,所以目前互联网公司采用的非常少。也因此,在 ActiveMQ 官方 (opens new window) 可以看到,其正在积极开发 ActiveMQ Artemis (opens new window) ,以最终替代现有的 ActiveMQ 版本。
Artemis 是一款基于 Netty NIO 的高性能消息中间件,它的前身为 JBoss 的 HornetQ (opens new window),于 2015 年被捐献给 Apache ActiveMQ 社区,并命名为 Apache Artemis。
因为朋友已经写了一篇很不错的 ActiveMQ 入门文章,所以艿艿就可以光明正大的偷懒了。对 RabbitMQ 不了解的胖友,可以先阅读 《消息队列之 ActiveMQ》 (opens new window) 文章的「1. 简介」 (opens new window)小节
# 2. 单机部署
操作系统:macOS 10.14
其它系统,基本一致的。
注意,需要安装 JDK 。不同版本的 ActiveMQ 需要的 JDK 版本,见《Apache ActiveMQ 各个版本所依赖的 JDK 版本》 (opens new window)文章。
# 2.1 下载
打开 ActiveMQ 下载页面 (opens new window),选择想要的 ActiveMQ 版本。这里,选择版本 5.15.10 Release (opens new window) 。命令行操作如下:
在/opt目录下解压
# 解压
$ tar -zxvf apache-activemq-5.15.10-bin.tar.gz
# 重命名
$ mv apache-activemq-5.15.10 activemq

# 查看目录
$ ls- ls
80 -rw-r--r--   1 yunai  staff     40580 Aug 28 15:47 LICENSE
8 -rw-r--r--   1 yunai  staff      3334 Aug 28 15:47 NOTICE
8 -rw-r--r--   1 yunai  staff      2610 Aug 28 15:47 README.txt
36208 -rwxr-xr-x   1 yunai  staff  18536370 Aug 28 15:22 activemq-all-5.15.10.jar
0 drwxr-xr-x  10 yunai  staff       320 Dec 14 20:30 bin # # 执行脚本
0 drwxr-xr-x  20 yunai  staff       640 Aug 28 15:47 conf # 配置文件
0 drwxr-xr-x   3 yunai  staff        96 Aug 28 15:47 data # 数据文件、日志文件
0 drwxr-xr-x   5 yunai  staff       160 Aug 28 15:47 docs # 文档
0 drwxr-xr-x   7 yunai  staff       224 Aug 28 15:47 examples # 使用示例
0 drwxr-xr-x  22 yunai  staff       704 Dec 14 20:30 lib # ActiveMQ jar 包
0 drwxr-xr-x   8 yunai  staff       256 Aug 28 15:47 webapps # ActiveMQ 管理后台
0 drwxr-xr-x   3 yunai  staff        96 Dec 14 20:30 webapps-demo
# 2.2 启动
启动一个 ActiveMQ Broker 服务。命令行操作如下:
切换到bin目录
$ cd /opt/activemq/bin
ls

# 启动 ActiveMQ Broker 服务。
./activemq start
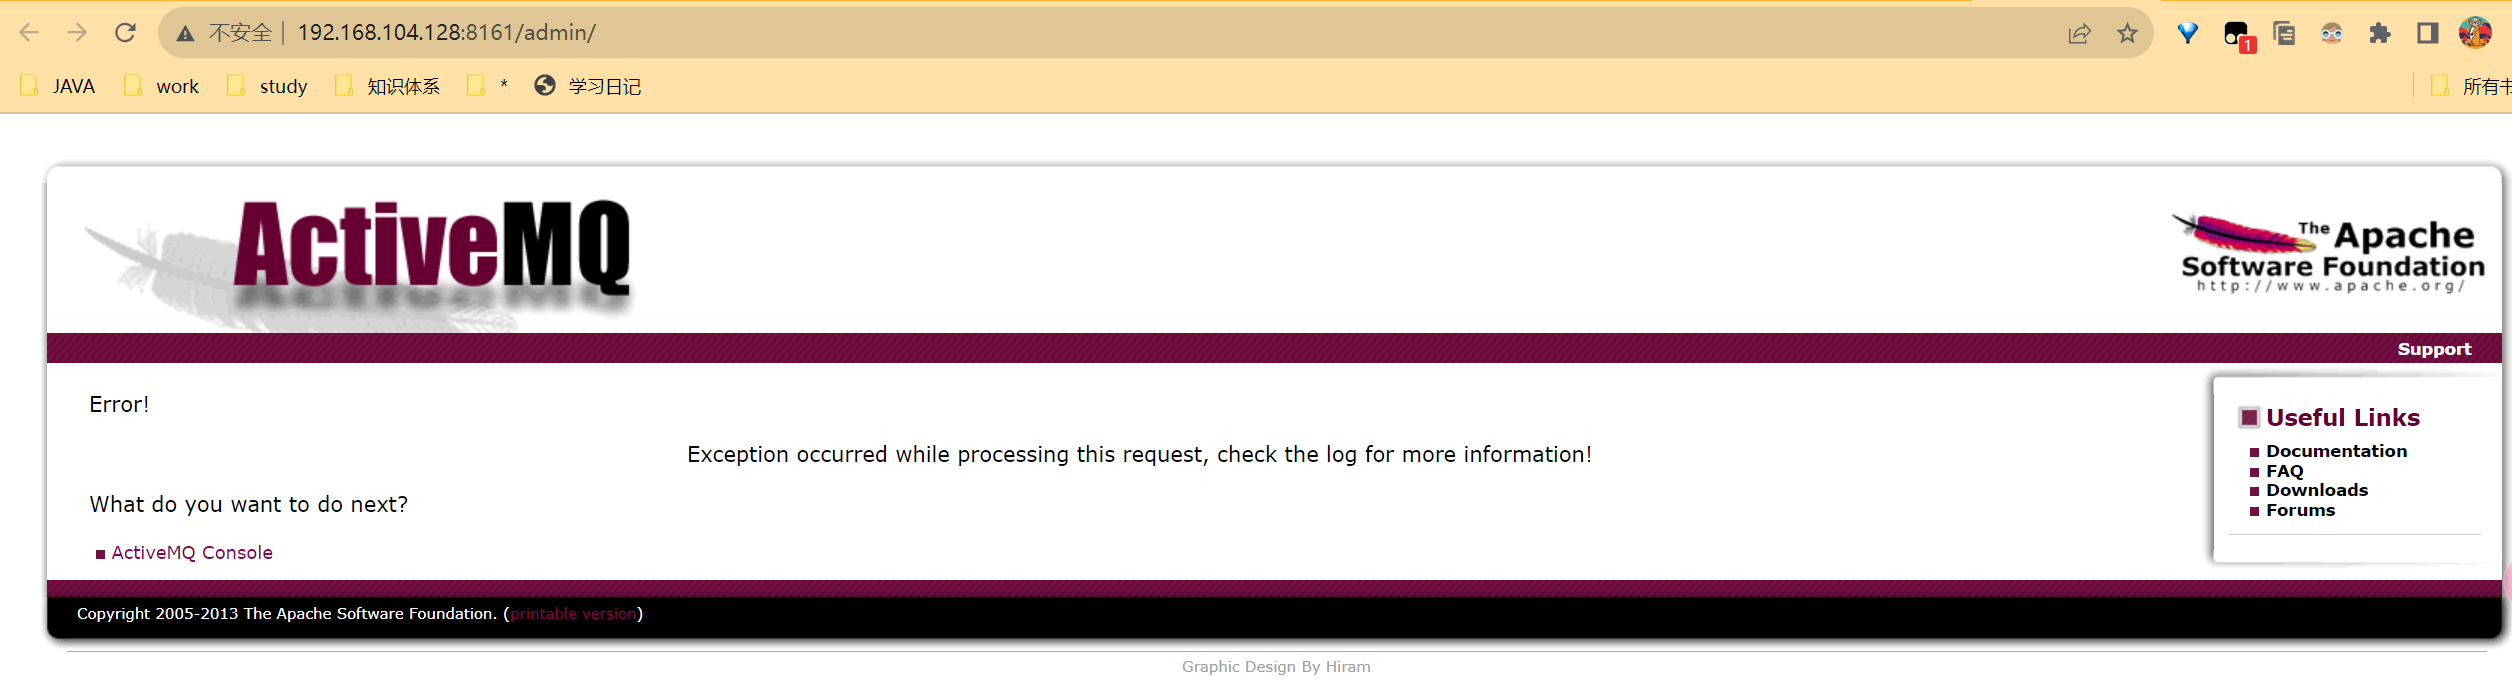
访问:http://192.168.104.128:8161/admin/ 账号:admin 密码:admin
- 8161 端口:Web Console 。后续,胖友可以看看「4. ActiveMQ Web Console」 (opens new window) 。
- 61616 端口:Broker 服务。后端,胖友可以看看「5. 简单示例」 (opens new window)。
😈 至此,我们已经完成了 ActiveMQ 单机部署。
# 5. 简单示例
示例代码对应仓库:lab-32-activemq-native (opens new window) 。
在 JMS 规范中,定义了两种消息模型:
- 点对点(point to point):基于 Queue 队列的方式。
- 发布/订阅(publish/subscribe):基于 Topic 主题的方式。
具体的概念,胖友可以看看《消息队列两种模式:点对点与发布订阅》 (opens new window)文章。
本小节,我们将使用点对点的消息模式,一起来看看在 Java 中,如何使用生产者 Producer 发送消息,和消费者 Consumer 消费消息。
另外,ActiveMQ 的 Java 客户端是遵守 JMS 规范来实现的,所以在稍后的示例中,我们也能看到这一点。
# 5.1 引入依赖
在 pom.xml (opens new window) 文件中,引入相关依赖。
<?xml version="1.0" encoding="UTF-8"?>
<project xmlns="http://maven.apache.org/POM/4.0.0"
         xmlns:xsi="http://www.w3.org/2001/XMLSchema-instance"
         xsi:schemaLocation="http://maven.apache.org/POM/4.0.0 http://maven.apache.org/xsd/maven-4.0.0.xsd">
    <parent>
        <artifactId>lab-32</artifactId>
        <groupId>cn.iocoder.springboot.labs</groupId>
        <version>1.0-SNAPSHOT</version>
    </parent>
    <modelVersion>4.0.0</modelVersion>

    <artifactId>lab-32-activemq-native</artifactId>

    <dependencies>
        <!-- 引入 ActiveMQ 客户端依赖 -->
        <dependency>
            <groupId>org.apache.activemq</groupId>
            <artifactId>activemq-client</artifactId>
            <version>5.15.10</version>
        </dependency>
    </dependencies>

</project>
具体每个依赖的作用,胖友自己认真看下艿艿添加的所有注释噢。
# 5.2 ActiveMQProducer
创建 ActiveMQProducer (opens new window) 类,使用 JMS MessageProducer (opens new window) 发送消息。代码如下:
// ActiveMQProducer.java

import org.apache.activemq.ActiveMQConnectionFactory; // 使用 ActiveMQ 的客户端实现

import javax.jms.*; // 使用 JMS API

public class ActiveMQProducer {

    private static final String BROKER_URL = "tcp://127.0.0.1:61616";
    private static final String USERNAME = "admin";
    private static final String PASSWORD = "admin";

    private static final String QUEUE_NAME = "queue_demo"; // 只有 QUEUE_NAME 需要共享给 RabbitMQConsumer

    public static void main(String[] args) throws JMSException {
        // 创建连接
        Connection connection = getConnection();

        // 创建会话
        Session session = getSession(connection);

        // 创建队列
        Queue queue = getQueue(session);

        // 创建 Producer
        MessageProducer producer = session.createProducer(queue);

        // 发送 3 条消息
        for (int i = 0; i < 3; i++) {
            Message message = session.createTextMessage("Hello World" + i);
            producer.send(message);
        }

        // 关闭
        session.close();
        connection.close();
    }

    public static Connection getConnection() throws JMSException {
        // 创建连接
        ConnectionFactory factory = new ActiveMQConnectionFactory(USERNAME, PASSWORD, BROKER_URL);
        Connection connection = factory.createConnection();
        // 启动连接
        connection.start();
        return connection;
    }

    public static Session getSession(Connection connection) throws JMSException {
        // 第一个方法参数 transacted ,是否开启事务。这里设置为 false ,无需开启
        // 第二个方法参数 acknowledgeMode ,确认模式。这里设置为 AUTO_ACKNOWLEDGE ,自动确认。推荐阅读 https://my.oschina.net/thinwonton/blog/995291
        return connection.createSession(false, Session.AUTO_ACKNOWLEDGE);
    }

    public static Queue getQueue(Session session) throws JMSException {
        return session.createQueue(QUEUE_NAME);
    }

}
- 代码比较简单,胖友根据艿艿添加的注释,理解下哈。
执行 #main(args) 方法,发送 3 条消息到 ActiveMQ 。如果没有报错,说明执行正常成功。
# 5.3 ActiveMQConsumer
创建 ActiveMQConsumer (opens new window) 类,使用 JMS MessageConsumer (opens new window) 消费消息。代码如下:
// ActiveMQConsumer.java

import javax.jms.*; // 使用 JMS API

import java.util.concurrent.TimeUnit;

public class ActiveMQConsumer {

    public static void main(String[] args) throws JMSException {
        // 创建连接
        Connection connection = ActiveMQProducer.getConnection();

        // 创建会话
        final Session session = ActiveMQProducer.getSession(connection);

        // 创建队列
        Queue queue = ActiveMQProducer.getQueue(session);

        // 创建 Consumer
        MessageConsumer consumer = session.createConsumer(queue);
        consumer.setMessageListener(new MessageListener() {

            public void onMessage(Message message) {
                TextMessage textMessage = (TextMessage) message;
                try {
                    System.out.println(String.format("[线程:%s][消息编号:%s][消息内容:%s]",
                            Thread.currentThread(), textMessage.getJMSMessageID(), textMessage.getText()));
                } catch (JMSException e) {
                    throw new RuntimeException(e);
                }
            }

        });

        // 关闭
        try {
            TimeUnit.HOURS.sleep(1);
        } catch (InterruptedException ignore) {
        }
        session.close();
        connection.close();
    }

}
- 代码比较简单,胖友根据艿艿添加的注释,理解下哈。
执行 #main(args) 方法,从 RabbitMQ 消费消息。执行结果如下:
[线程:Thread[ActiveMQ Session Task-1,7,main]][消息编号:ID:MacBook-Pro-8-53110-1576335483269-1:1:1:1:1][消息内容:Hello World0]
[线程:Thread[ActiveMQ Session Task-1,7,main]][消息编号:ID:MacBook-Pro-8-53110-1576335483269-1:1:1:1:2][消息内容:Hello World1]
[线程:Thread[ActiveMQ Session Task-1,7,main]][消息编号:ID:MacBook-Pro-8-53110-1576335483269-1:1:1:1:3][消息内容:Hello World2]
- 消费成功,符合预期。